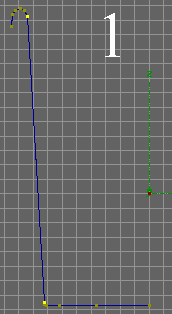

 To create more points along this line click Object, Fracture. You will notice a new point appears in the middle of the line. Click Object, Fracture again and more points should appear. We are creating these points so we can tell Imagine to use them to mark the start and the end of the holes. You must decide where you want the holes to appear on your bin and fracture lines until there is a point to mark the start and the finish of your holes. The following steps are just what I did to get my start and finish points.
 Now with the Drag Box (Mode, Pick Method, Drag Box) select the top line of the side of the bin (figure 2). Now fracture this line (Object, Fracture). Then select the line between the bottom point you have selected and the point you have just created (figure 3) and fracture it (Object, Fracture).
 Click Mode, Pick, Groups. We need to sweep the outline to make a 3D object again by following the instructions in Step 2.
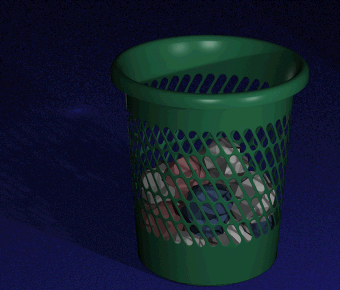
 You should now have a 3D bin similar to this one. Save it as "bin" in the same directory as you saved the outline (Object, Save).
| Step 3 | Bin Tutorial | Step 5 |